
Key Takeaways
- Setting up a VLAN is a 12-step process. The steps include preparing unique VLAN IDs, creating a network diagram, configuring switch ports, and assigning switch ports to VLANs. (Jump to Section)
- Static and dynamic VLANs serve different purposes. They are compared based on advantages based on network size, complexity, and requirements. (Jump to Section)
- It’s imperative to get the VLAN setup process right and periodically reassess VLAN performance to ensure network security and efficiency. (Jump to Section)
Setting up a virtual local area network (VLAN) can be a complicated process, especially if you’re operating a large enterprise network, a network with legacy or hybrid architectures, or a network with specific workloads that require additional security and regulatory compliance safeguards.
Each VLAN configuration process will look a little different, depending on the specifications you bring to the table, and some of these steps — particularly steps five through eight — may be completed simultaneously, in a slightly different order, or even in a more automated fashion if you choose to set up a dynamic VLAN.
Still, in general, your network stands the best chance of success if you complete the following 12 VLAN configuration steps and document your processes, strategies, and requirements along the way.
Featured Partners
eSecurity Planet may receive a commission from merchants for referrals from this website
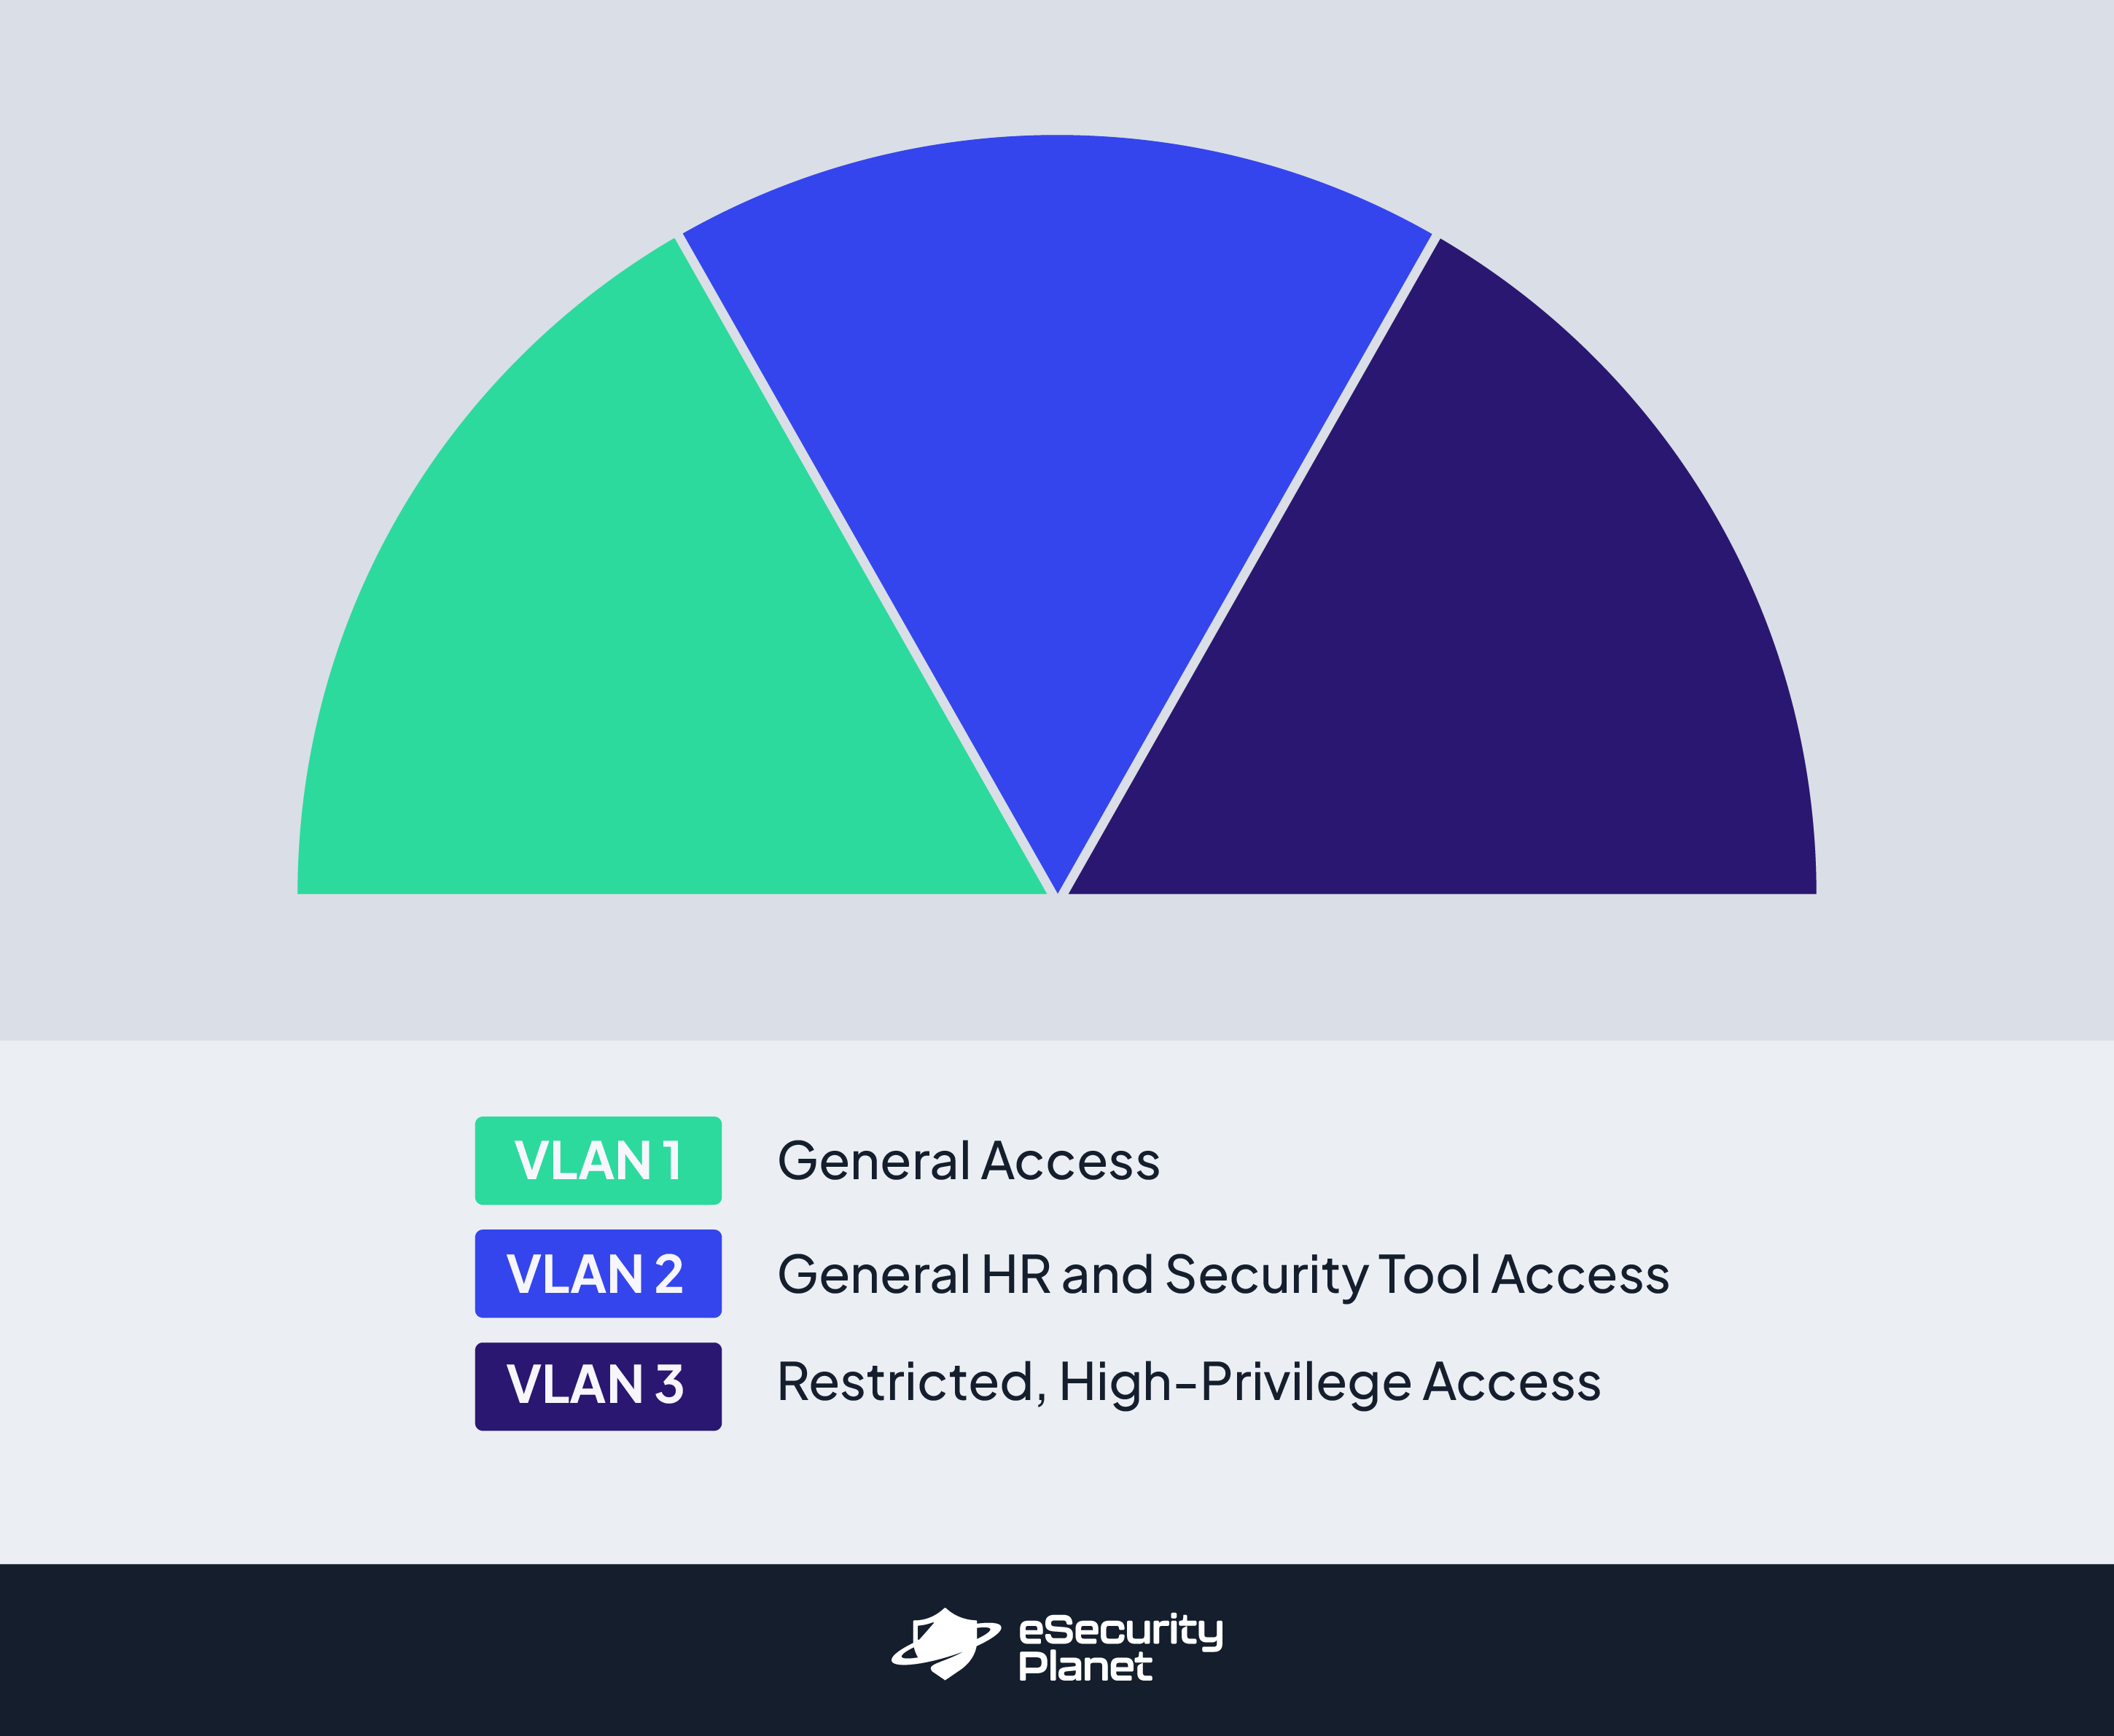
1. Brainstorm VLAN Groupings
In a traditional local area network with no virtualized barriers, all devices and network components communicate and share information with each other; you’re likely setting up a VLAN in the first place because this foundational setup is too loose for your requirements. But what are the ideal segments that will make your network function optimally and securely?
At this point in VLAN creation and configuration, it’s time to determine what VLAN groupings make the most sense for your network’s strategic complexities. Consider not only how many VLANs you’ll need but also the purpose each VLAN will serve and how they need to be set up to fulfill that purpose. While many organizations stick to more traditional boundaries like physical locations or departments, there may be more effective and secure ways for you to group and set up VLAN rules.
For example, if your company works closely with a third-party professional services firm that needs access to certain HR and security applications and data but not others, you could divide your VLANs based on which ones need looser versus stricter identity and access management controls. From there, determine which users and devices will align with and be assigned to each grouping.
2. Prepare Unique VLAN IDs
Every single VLAN you set up will need a unique VLAN identification number so you can segment network traffic to the appropriate places and keep documentation organized for multiple VLANs simultaneously. VLAN IDs are purely numeric and range from one to 4,095. While you don’t necessarily “need” these VLAN IDs to be operational yet, it’s a good idea to figure them out now so you can use them when labeling your network diagram in the next step.
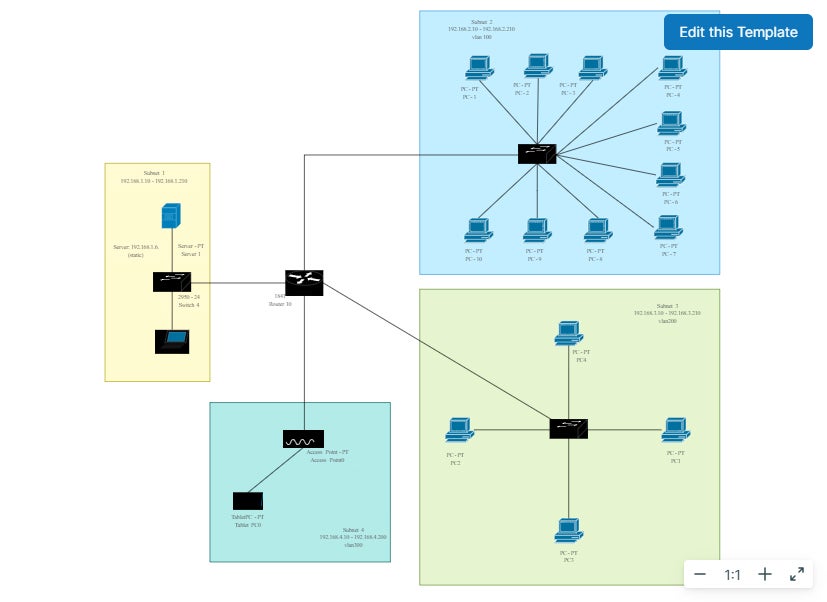
3. Create a Logical Network Diagram or Map
Before you even begin setting up your VLANs and connecting devices and switches, the best way to ensure a successful VLAN network setup is to map out the specificities and relationships of your network with a network diagram. The labels and connections you illustrate at this stage of VLAN creation will give you the labels and organizational structure you need to keep track of all the devices, switches, routers, and other components necessary to fulfill your architectural plans.
Your team may choose to create this diagram manually or with tools that are already in your portfolio. However, a number of free and low-cost network diagramming tools specifically offer templates and icons that make it easier to illustrate the network you’re setting up, often with low-code/no-code interfaces and tools. If you’re interested in finding a network diagramming tool to make this step more efficient, consider investing in one of these top network diagram software and tooling solutions.
4. Optional: Purchase Additional Equipment
Based on the VLAN grouping requirements and design(s) you’ve developed in the previous three steps, you should have a clearer picture of any missing hardware or software that you need to purchase. Perhaps you have more VLAN groupings than you expected and need to bring in additional switches and routers. Or maybe your organization is growing quickly, and you want to purchase new switches with more ports for more devices. There’s also the possibility that you are moving from a primarily on-premises network setup to a hybrid or cloud setup that requires new software or third-party relationships.
Regardless of your new requirements, start by creating an inventory list of any networking equipment you currently own, including information about switch and router formats, configurations, port counts, speeds, and other details pertinent to VLAN setup. From there, make a separate list of the networking tools you’re missing, the cost of these missing tools, and any other specialized information that should be considered during the buying process.
5. Connect Network Devices to Appropriate Switch Ports
You should now connect VLAN servers, end-user devices, and other relevant network devices — as long as their IP addresses are already configured — to the switch ports that have been selected for the corresponding VLAN group. While individual devices, ports, switches, and routers have not yet necessarily been configured in their settings to align with a certain VLAN and function, you should still know which devices and network components have been set aside for which VLANs. If you’re unsure about the switch ports that should be connecting to each device, reference your network diagram (or go back to the network diagramming stage and create a more detailed diagram).
If you are opting to create a dynamic VLAN instead of a static VLAN, steps five through eight may look a little different for you. For example, you may spend these steps creating or identifying the appropriate rule-based protocols for your devices and setting up automation rules rather than manually connecting ports and devices to VLANs.
6. Configure Switch Ports
Now that your devices are connected to the correct switch ports, it’s time to configure the switch ports so they can perform according to their assigned functions. Many of your ports will simply need to be set up as access ports in the switch’s settings; an access port is a simple connection that allows devices to connect to only one VLAN. Access ports are most appropriate for devices and users that will not be using VLAN tagging or participating in inter-VLAN routing.
Trunk ports are also configured in a switch’s settings, but they are designed to manage higher bandwidth traffic and can manage traffic for more than one VLAN. Devices should only be connected to trunk ports if they have been authorized and configured for VLAN tagging and inter-VLAN routing. Before moving on to the next step, double-check that devices are connected to the correct type of switch port for their operational needs.
7. Set up VLAN Specifications via Network Switch Settings
All of the prework is done: It’s time to actually create the virtual local area networks you want through network switch settings. You’ll do this by accessing your network switch management interfaces and going to the section where you can create VLANs. Create the number of VLANs you determined were necessary in previous steps and assign them the unique VLAN IDs you selected in step two.
8. Assign Switch Ports to VLANs
Again, keep in mind that steps five through eight may go in a slightly different order, depending on your team and their preferences. So if you have not yet assigned switch ports to the appropriate VLAN, it’s time to do that now. Tagged ports (trunk ports) are likely already associated with the correct VLANs, but you should confirm that they are set up correctly at this time. For untagged ports (access ports), you’ll need to manually connect them to the correct VLAN. Remember, trunk ports can be associated with more than one VLAN, if appropriate.
9. Optional: Add VLAN Tags
VLAN tagging is the process through which VLAN network traffic is further segmented and specialized. When VLAN tags are in use, associated devices and ports automatically interact with devices and ports that share those same tags; however, tags also give network administrators the power to further direct traffic and support case-by-case inter-VLAN routing scenarios.
VLAN tagging is most appropriate for networks with complex traffic patterns and a diverse range of users, devices, and security permissions. If you choose to set up trunk ports with multiple VLANs running through them, as demonstrated in step six, you’ll need to make sure at least some of your VLANs receive tags so traffic doesn’t get muddled in trunk ports.
If you’re not sure if your network would benefit from VLAN tags, read this in-depth article on the topic to help you make your decision: Tagged vs. Untagged VLAN: When You Should Use Each.
10. Optional: Configure Inter-VLAN Routing
If your network requires VLAN-to-VLAN communication as a part of its regular operations, you’ll want to use the VLAN tags you set up in the previous step to direct inter-VLAN routing. While it sounds counterintuitive to open traffic flow between VLANs, many organizations choose to do this because the different layer at which routers operate makes it possible for them to still control what types of traffic flow across VLANs and when and how devices and users move from VLAN to VLAN. As part of the inter-VLAN configuration step, you may also need to set up or double-check your VLAN access controls, ensuring only approved users and devices can take advantage of inter-VLAN routing.
11. Quality-Test Your VLAN
Now that everything’s set up, it’s time to test network connectivity and performance. Make sure that all devices within the same VLAN are able to interact with each other and, conversely, that they are not able to reach devices in other VLANs. Ping and traceroute are both effective tools for testing VLAN connectivity and performance, but a number of other network security and management tools may be appropriate as well.
12. Document and Reassess VLAN Performance Periodically
Enterprise networks in particular frequently change as more devices and users, new hardware and software requirements, and new operational and security use cases arise. Network administrators and/or network security team members should maintain an up-to-date network diagram, equipment inventory, changelogs, and other configuration documentation so it’s easy to see what the network looks like now, if and where any vulnerabilities have reared their heads, and if any other changes are necessary to improve network performance. Each time you go through this process, update your documentation so you have a full history of the network and what you’ve done to maintain it.
Should You Use a Static VLAN or Dynamic VLAN?
Static and dynamic VLANs bring different advantages to network administrators, depending on the size, complexity, and requirements of their network. Below, we’ve explained how each type works and when you should use it.
Static VLAN
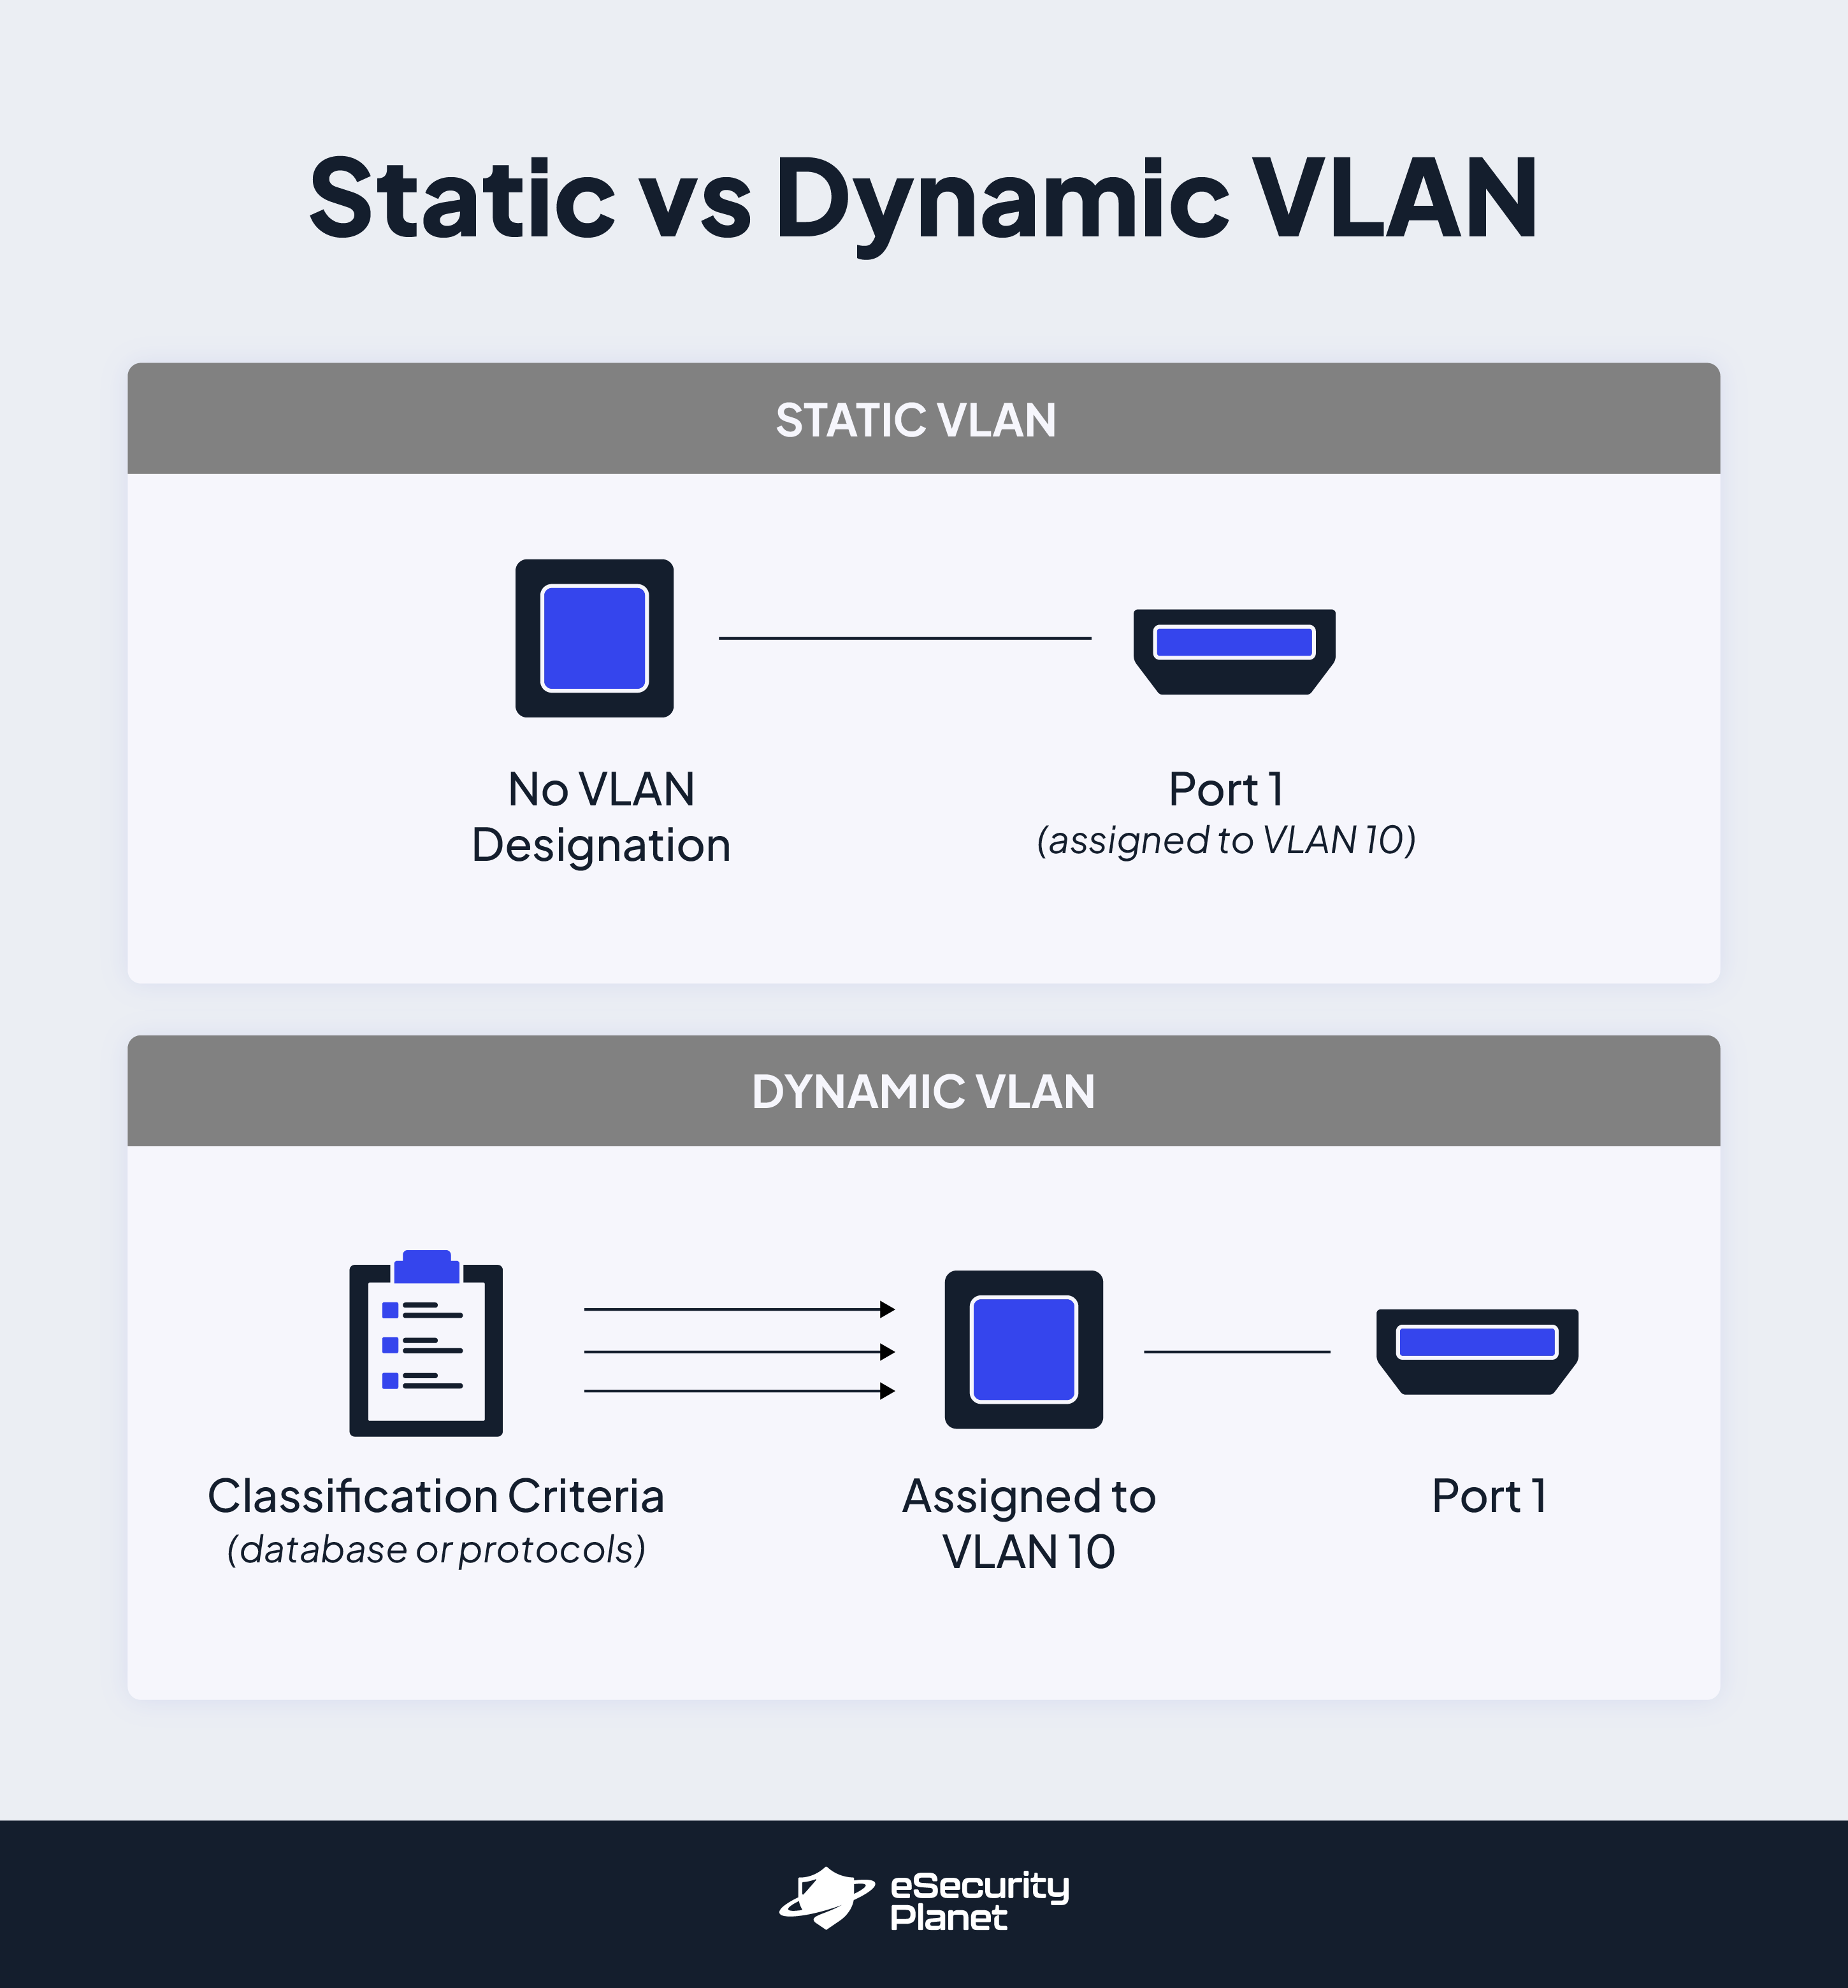
Static VLANs exist when network administrators manually connect network devices to physical switch ports and those devices receive their VLAN assignment based on that connection. If the device ever needs to be reassigned to a new VLAN, the network administrator would physically connect it to a new switch port that is already associated with that VLAN. In other words, a static VLAN is one in which switch ports are assigned to VLANs and devices are not assigned to VLANs; they receive their orders directly from the switch port they’re connected to.
This type of VLAN is best for smaller networks, or networks that change infrequently and include fewer VLAN segments because network administrators have to manually connect (and sometimes reconnect) devices to the right ports for them to work. With a larger network that’s changing frequently, this task alone could become a full-time job and riddled with errors. Static VLANs are most advantageous for network administrators who need an easy-to-setup VLAN with predictable infrastructure and limited authentication needs.
Dynamic VLAN
A dynamic VLAN is one in which devices are assigned to that VLAN on a dynamic and semi-automated basis. Specialized criteria determine which devices are assigned to which VLANs and when. These criteria may include specialized network access controls and protocols, VLAN membership policy servers (VMPS) and databases, or some other combination of servers and data-driven rules. With a dynamic VLAN, devices are assigned to VLANs while ports frequently are not assigned to particular VLANs; they are simply the conduit through which pre-assigned device traffic flows.
Dynamic VLANs are best for larger and more complex networks that need to maintain frequently changing authentication and usage rules. It’s a much more difficult implementation process when compared to static VLAN, but for more strenuous network rules and requirements, dynamic VLAN ultimately saves network professionals time in the long run, as they can simply update protocols and VMPS entries when new VLAN assignments are needed across multiple devices.
Bottom Line: The Importance of Preparation for Optimal VLAN Performance
While the actual process of setting up a VLAN can be as simple as updating network switch settings and connecting devices to VLAN switch ports, the strategy behind a successful VLAN setup can be much more daunting. You’ll need to consider any specialized security or compliance requirements, the different device types that need access, and the resources and monitoring it will take to set up and sustain an efficient VLAN.
All the steps listed above are crucial aspects of creating and configuring a sustainable VLAN network. But perhaps the most important step of all is documenting your thought process and your network architecture, especially as they change over time. Maintaining detailed documentation will help your existing network and security team members stay on top of the most pertinent network updates and issues while simultaneously ensuring that any future members of the team receive the foundational training necessary to successfully work in your VLAN ecosystem.
Read next: What Is Network Security? Definition, Threats & Protections